
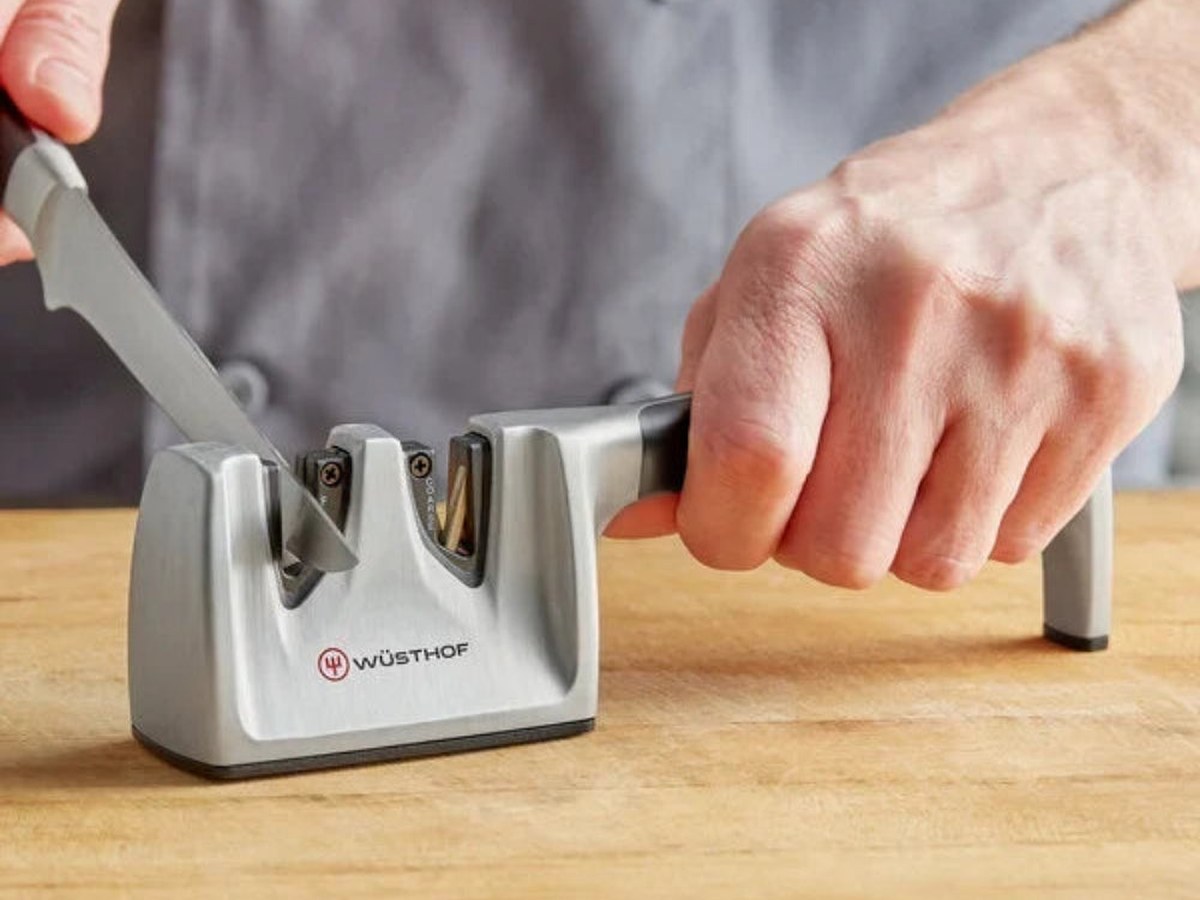
How To
How to Keep Your Kitchen Knives Sharp
Learn when to hone or sharpen a kitchen knife, how to use a honing rod safely, which common habits damage an edge, and when to call a professional.
Wood is kinder to a knife than anything else in your kitchen. It asks for very little in return — a proper wash, a thorough dry, and an occasional coat of oil.
By Cookin · 22 September 2026 · Updated 24 September 2026 · 4 min read
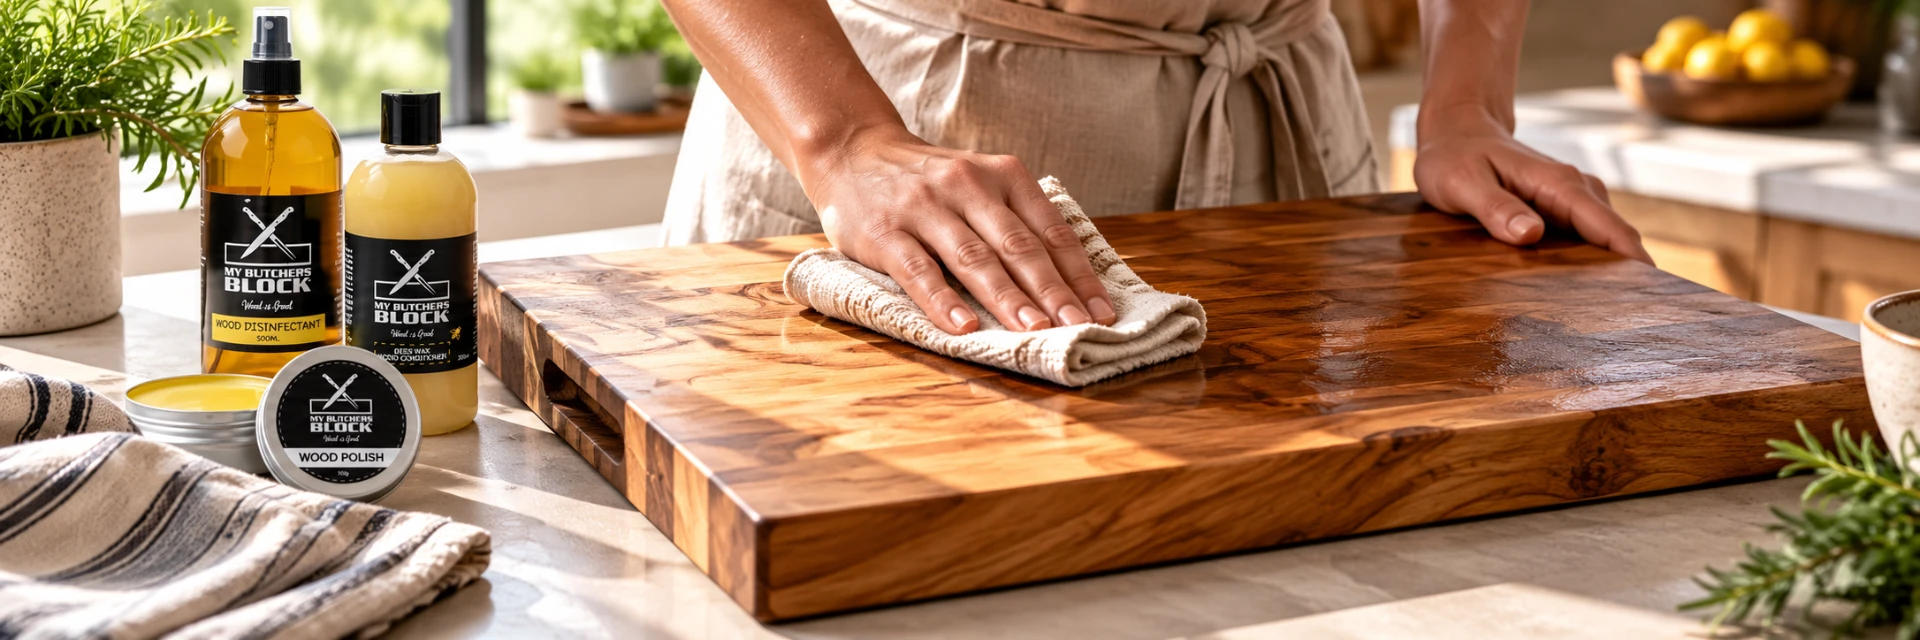
A good wooden board will outlast most of the kitchen around it, but only if it is washed, dried and oiled properly. None of this is difficult, and none of it takes more than a few minutes. What follows is the whole routine: what to do when a board is new, what to do every day, what to do every month or two, and how to know when a board is genuinely finished.
A new board is dry timber, and dry timber drinks water, stains and smells. Before its first job, wash it briefly in hot soapy water, rinse, dry it completely, then apply a generous coat of food-safe mineral oil or a dedicated board conditioner. Let it soak in for a few hours or overnight, wipe off what remains, and repeat once more if the wood still looks thirsty. Oil the whole board — faces, edges and ends.
Use mineral oil or a purpose-made board cream, not olive, sunflower or other cooking oils. Those go rancid in the fibres and the board will smell of it.
Edge-grain boards show long stripes of timber and are the everyday standard: hard-wearing, affordable and kind to a knife. End-grain boards are built from short blocks standing upright, so the blade slips between vertical fibres rather than across them. They are gentler again on an edge and self-heal visibly, but they are heavier, thicker and more expensive. The care routine is identical for both.
Routine cleaning is simple and should happen straight after use:
Wood warps and cracks when one face dries faster than the other. Drying both sides and standing the board upright — never flat on a wet counter — prevents almost every failure. In a humid coastal kitchen this takes a little longer; give it the time.
Cleaning is daily; conditioning is periodic. A dry board absorbs water, stains and smells, while an oiled board cannot — the oil fills the fibres so there is no room for anything else. Apply oil generously to a clean, completely dry board, leave it to soak in for a few hours or overnight, then wipe off the excess.
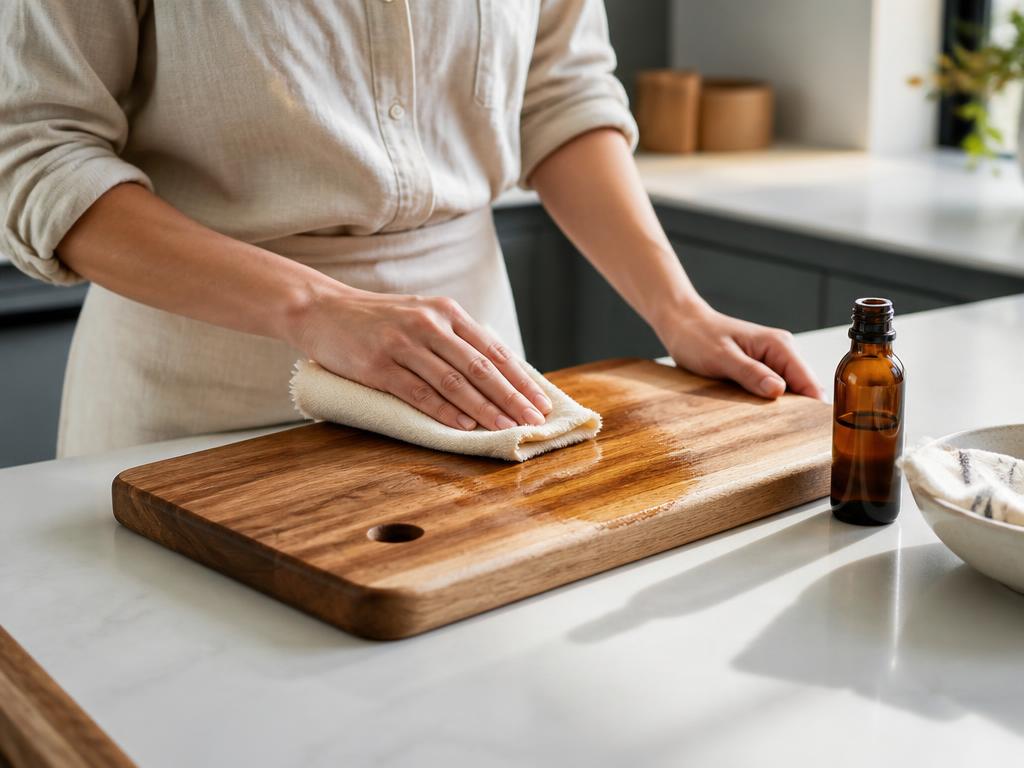
Garlic, onion and raw meat leave smells; beetroot and turmeric leave colour. Both lift the same way: sprinkle the board with coarse salt, rub it with half a lemon cut-side down, leave it for a few minutes, then rinse, dry and re-oil. For stubborn smells, a paste of bicarbonate of soda and water left on the surface for ten minutes works well. Avoid bleach — it dries the wood and is unnecessary for normal home use.
Store the board on its edge or flat somewhere dry, away from direct sunlight and away from the heat of a stove or dishwasher vent. Do not store it flat against a damp surface, and do not put it away wet. A board stored on edge dries fully between uses and stays flat for years.
Knife scars are normal and harmless — they are the board doing its job. Replace a board when it has deep cracks that trap food and cannot be cleaned, when it has warped badly enough to rock on the counter, or when it smells sour even after cleaning and oiling. A split along a glue line on an end-grain board is also the end. Until then, a tired-looking board can usually be revived: sand the surface lightly with fine sandpaper, wash, dry and re-oil, and it will look close to new.
Done consistently — wash, dry, stand, oil occasionally — a good board is a decade-long purchase, not a disposable one.
Where to look next
How To
Learn when to hone or sharpen a kitchen knife, how to use a honing rod safely, which common habits damage an edge, and when to call a professional.
Buying Guides
Length, steel, weight and handle — the four things that actually decide whether you reach for a chef's knife every day, and the ones that are mostly marketing.
How To
First use, heat control, utensils, cleaning, storage and the honest signs that a coating is finished — a practical guide to making non-stick cookware last.