

Buying Guides
Stainless, non-stick or cast iron
What each cookware material is genuinely good at, where it fails, and the three-pan combination that covers almost every kind of home cooking.
Stainless steel rewards good heat control. Preheat properly, let food release in its own time, and clean off tint, spots and burnt-on residue the right way. A good pan will outlast most of your kitchen.
By Cookin · 24 September 2026 · 6 min read
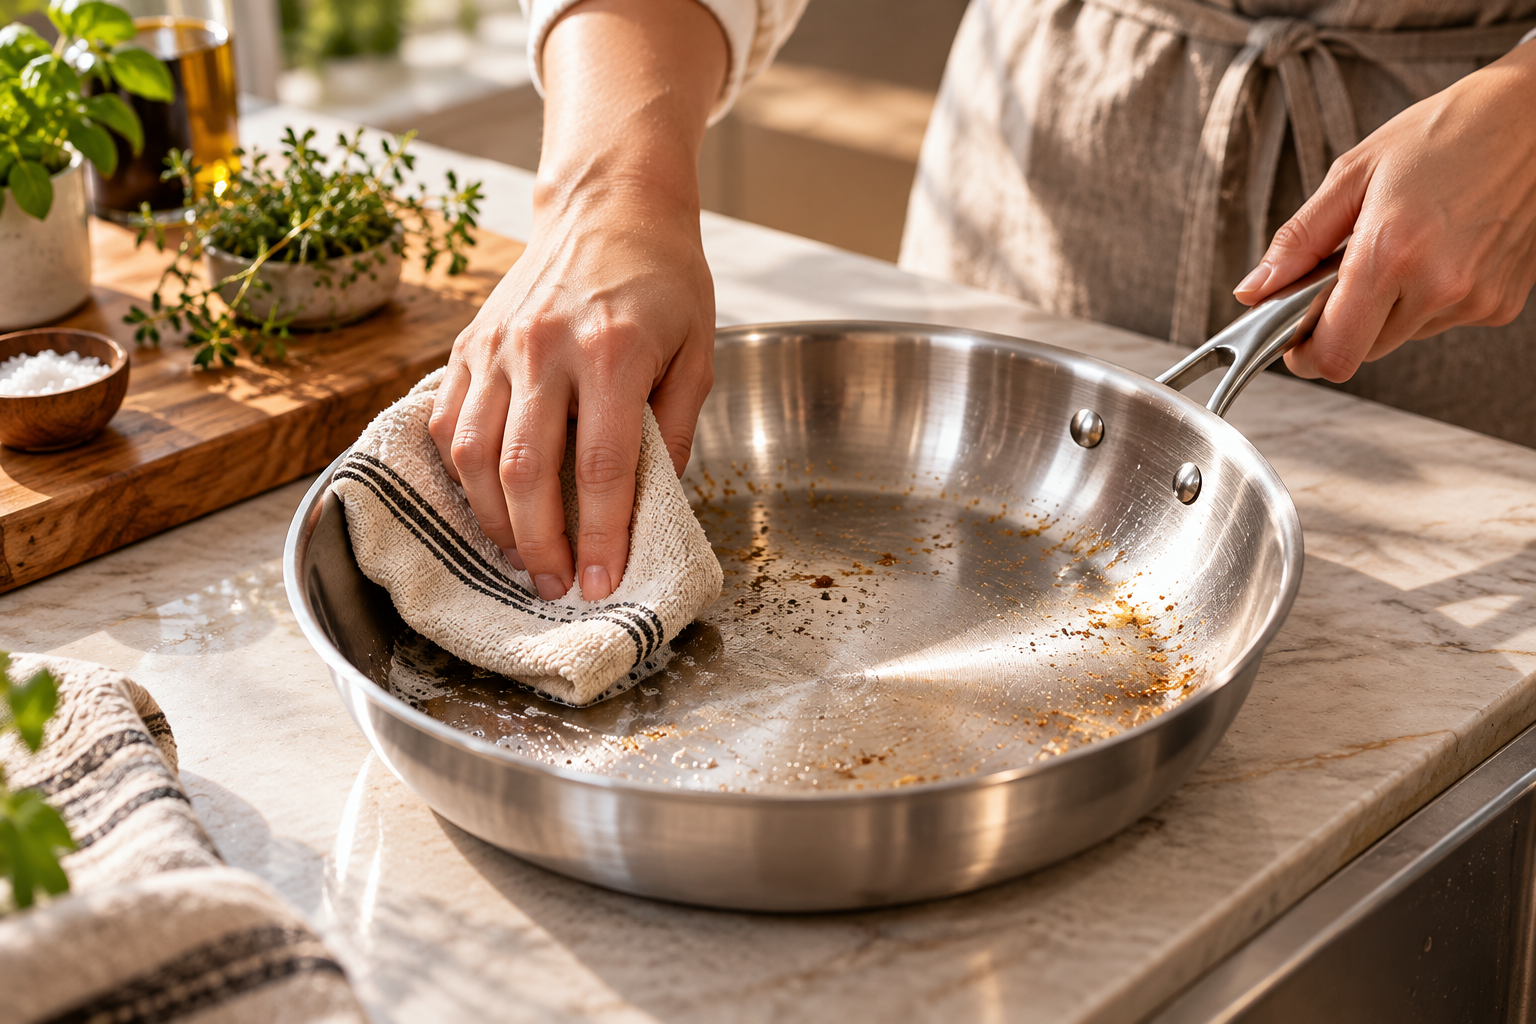
Stainless steel has no coating to protect and no seasoning to maintain, which makes it the most forgiving pan to care for, but not always the easiest to cook in. Most complaints about food sticking, stains and discolouration come down to heat and cleaning habits. Pans vary: some are fully clad (layers of steel and aluminium or copper up the sides), others have an encapsulated base, and handles, lids and rivets are made differently. Treat this guide as general practice and follow your manufacturer's instructions where they differ.
Food sticks when it goes into a pan that isn't hot enough, and proteins bond to the metal before a crust can form. Preheat the empty pan over medium heat for two to three minutes. A clad pan heats more evenly than one with only a base disc, so it may need less time. One common test: flick in a few drops of water. If they hiss and disappear, the pan isn't ready. When the drops bead up and skate across the surface, it is. Wipe the water out, then add the fat.
Most home cooking in stainless steel happens at medium to medium-high. Full heat on a thin or small pan leads to scorching, uneven cooking and heat tint, and very high heat on an empty pan can warp some bases. Match the pan to the plate or burner: on gas, keep flames under the base and away from the sides and handle. Stainless holds heat well, so turn it down a little earlier than you would with a thin aluminium pan.
The brown residue left after searing is flavour, not a mess. Pour off excess fat, return the pan to medium heat, and add a splash of stock, wine, water or verjuice. Scrape with a wooden spoon or flat metal turner as it bubbles, and the residue dissolves into the base of a pan sauce. It is also the easiest way to start cleaning.
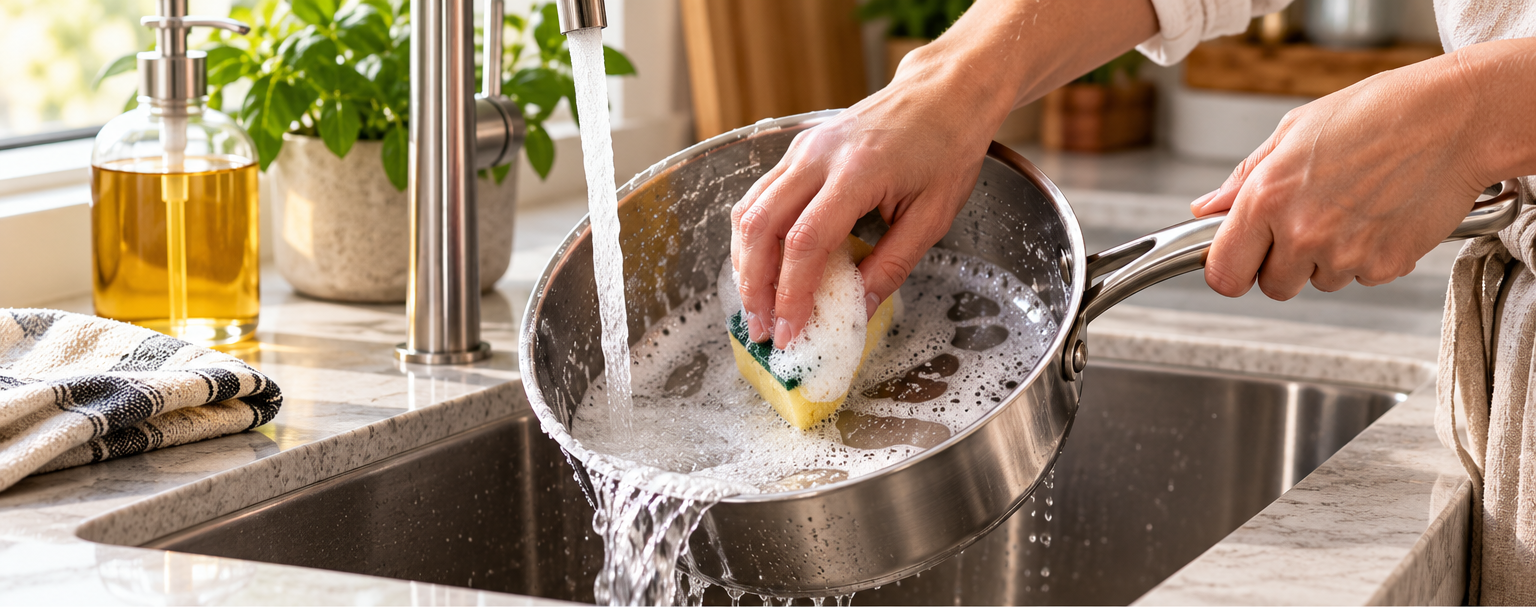
A blue, gold or rainbow sheen is a harmless oxide layer caused by overheating. It is cosmetic and doesn't affect cooking. To remove it, wipe the cool pan with white vinegar diluted with water, or use a stainless steel cleaner, then wash, rinse and dry. Avoid tint by using lower heat and not heating the pan empty for longer than needed.
Chalky white spots are usually minerals from hard water or starch from boiling pasta and potatoes. Many areas of South Africa have hard tap water, so this is common. Simmer a mixture of water and a splash of white vinegar for a few minutes, let it cool, wash and dry. Drying straight after washing prevents most water spots. Salt added to cold water can cause small pits over time, so add salt once the water is boiling and stir it in.
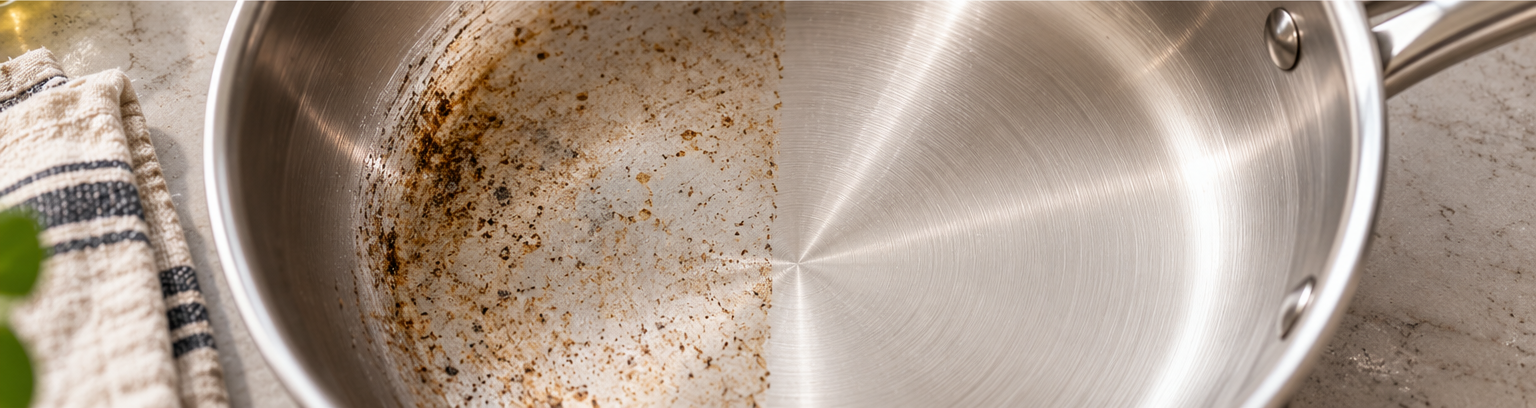
Plain brushed or polished stainless steel can handle a gentle abrasive cleaner or scourer when residue won't shift any other way. On polished surfaces, rub in the direction of the grain and expect some fine marks. Keep steel wool, harsh scouring powders and oven cleaner for true emergencies, if at all. Don't use chlorine bleach, which can pit and stain steel. Never use abrasives on pans with a non-stick interior, a decorative or coloured exterior, or copper or aluminium exposed on the base or rim. Check the product description or packaging before scrubbing.
Many stainless steel pans are labelled dishwasher-safe, but hand washing keeps them brighter. Dishwasher detergents can dull polished finishes, and exposed aluminium or copper rims can discolour. Wooden, plastic or bonded handles may not be suitable at all. If you use the dishwasher, remove the pan promptly at the end of the cycle and dry off any spots.
Not all stainless steel works on induction. It depends on the grade of steel and how the base is built. Look for the induction symbol or a manufacturer statement, or hold a fridge magnet against the base: if it sticks firmly across the base, the pan will usually work. Match the pan's base to the size of the induction zone, and start on a moderate setting, because induction heats very quickly.
An all-steel pan with a steel handle is often oven-safe, but the pan's limit is set by its weakest part. Silicone-wrapped, plastic, wooden or bakelite handles and knobs, and glass lids, usually have lower temperature ratings, or none at all. Check the rating before the pan goes into the oven or under the grill. Always use an oven glove afterwards. Steel handles get very hot in the oven, and a handle straight from the oven looks exactly like a cool one.
Construction, finishes and warranties differ between brands and ranges. Keep the care leaflet, and follow the manufacturer's guidance on heat, cleaners, dishwashers, induction and oven temperatures. Using the pan in ways the maker advises against can affect the warranty.
Where to look next
Buying Guides
What each cookware material is genuinely good at, where it fails, and the three-pan combination that covers almost every kind of home cooking.
How To
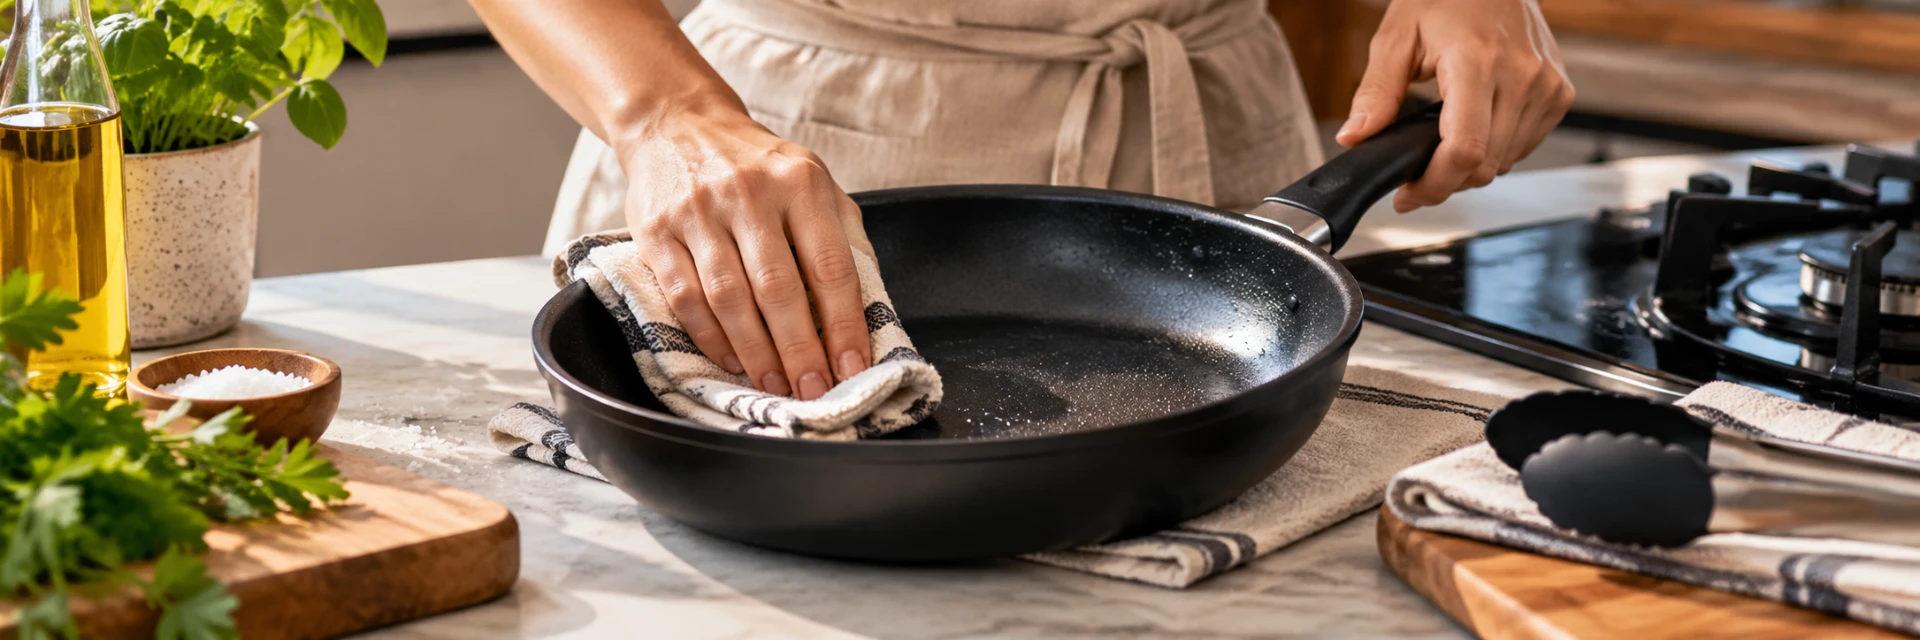
First use, heat control, utensils, cleaning, storage and the honest signs that a coating is finished — a practical guide to making non-stick cookware last.
How To
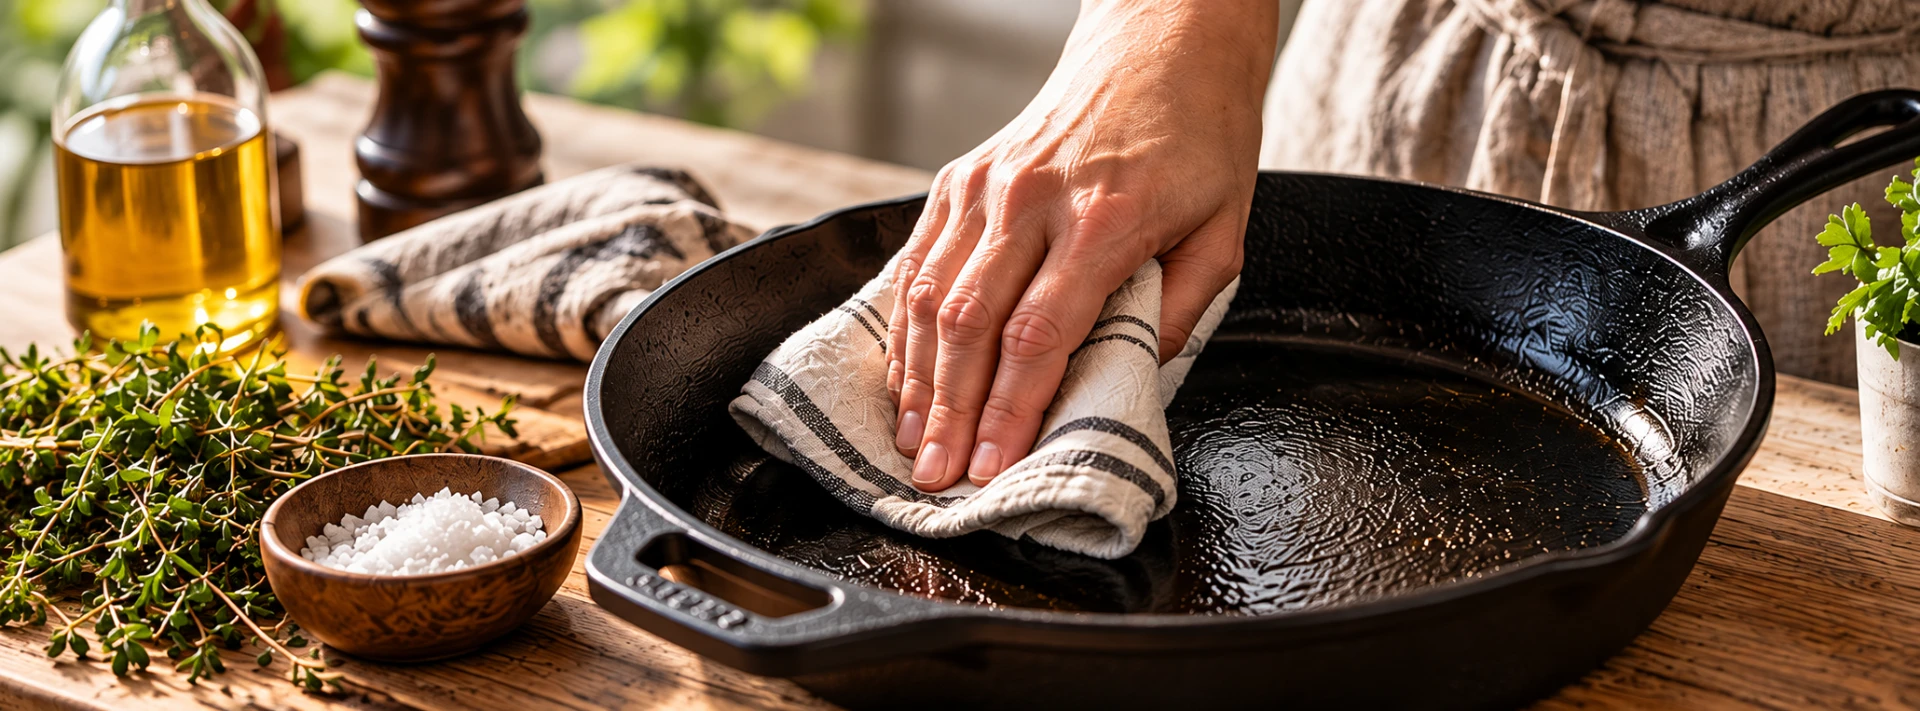
Seasoning, heat control, oils, cleaning, drying, rust, acidic food and storage — a practical guide to keeping bare and enamelled cast iron cooking well for decades.
How To
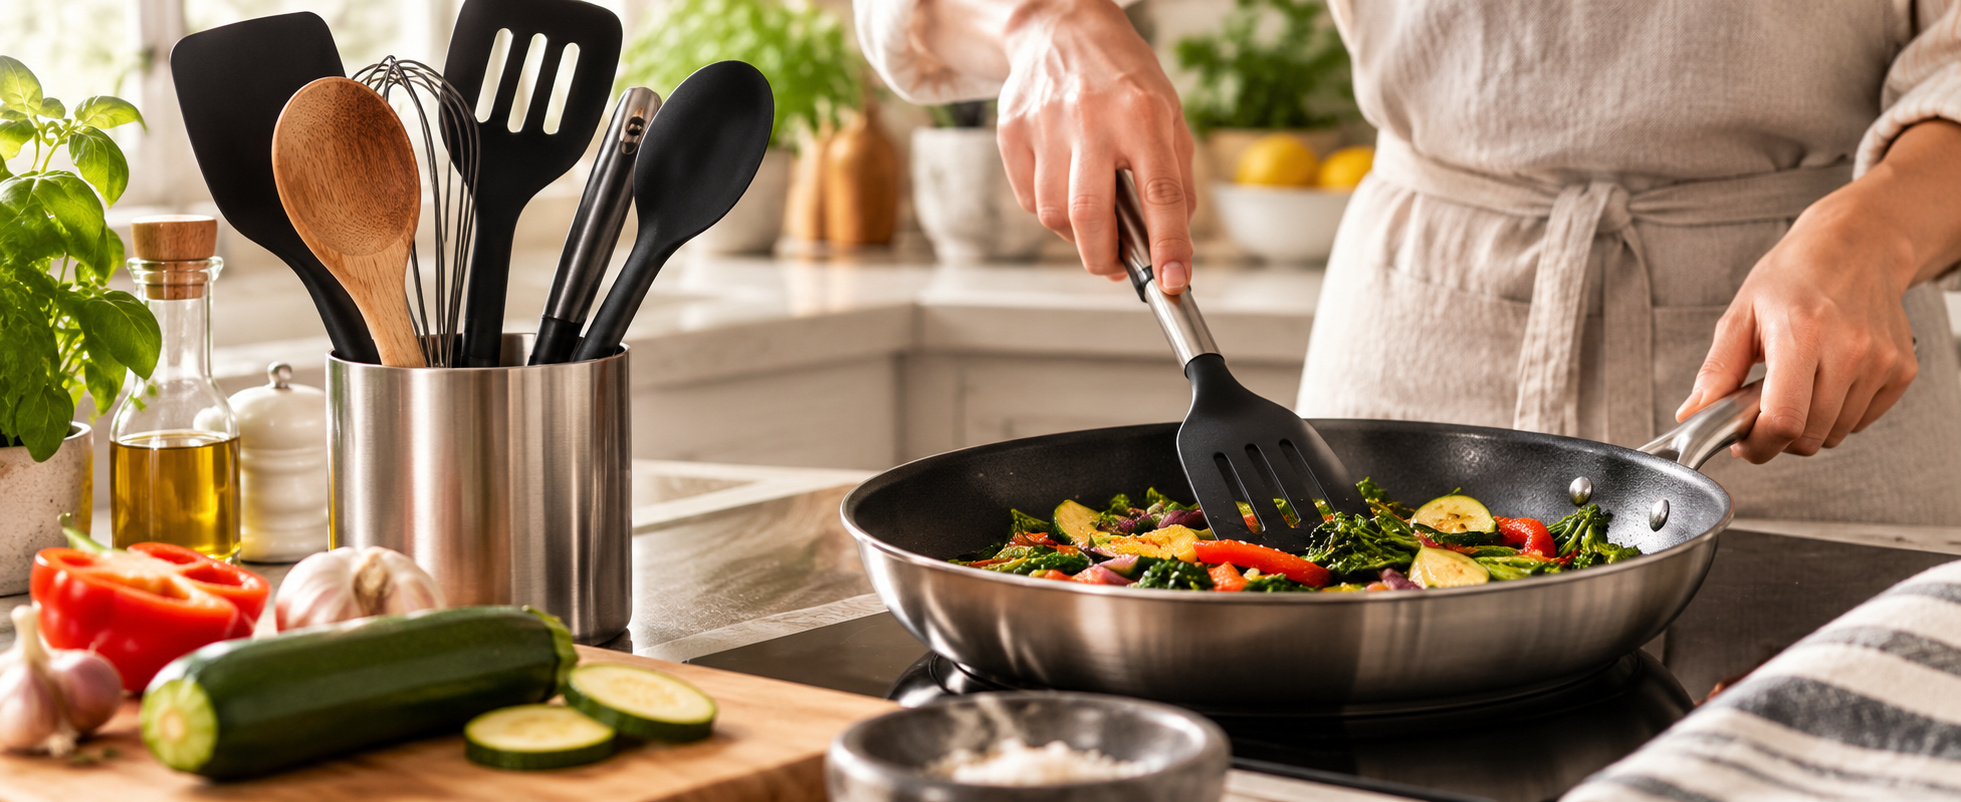
Choosing the right utensil for each pan, heat limits for silicone and nylon, washing and drying wooden spoons, dishwasher guidance, storage, and when to replace spatulas, spoons, tongs and whisks.